

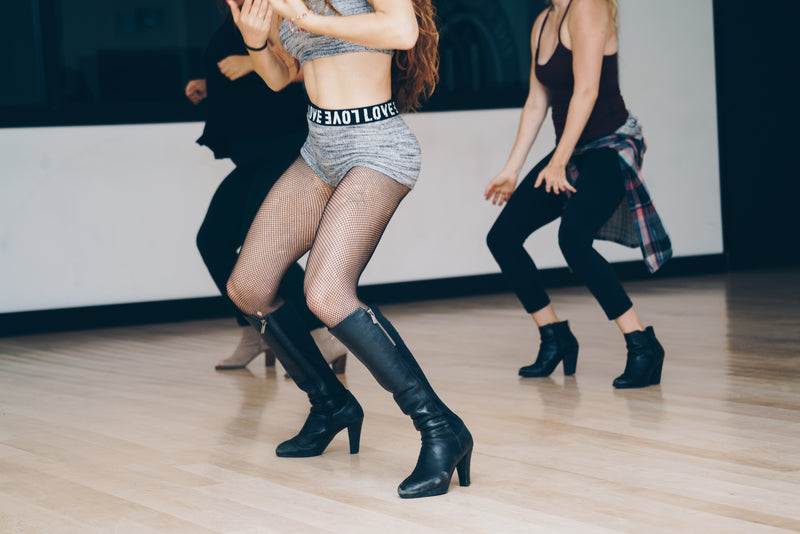
Have you ever gone out wearing your favorite pair of heels, only to be caught in a downpour halfway through the night? Don’t be the duct tape girl! There is an alternative solution for making your heels waterproof without compromising their look. In this blog post, we’ll show you exactly how to keep your feet dry and stylish at the same time. Read on to find out more!
Why Waterproofing Your Heels Is Necessary
Waterproofing your heels is a necessary step to keeping them safe from the elements. Wet feet can lead to blisters, trench foot, and other nasty foot conditions. Not to mention, water can seep into your shoes and cause them to rot.
To waterproof your heels, you’ll need the following supplies:
- A pair of waterproof boots or shoes
- A pair of socks
- A waterproofing product (such as a sealant or spray)
- A bucket or pan
To waterproof your boots or shoes, first put them on and fill the bucket or pan with enough water to cover the shoes. Let the shoes soak for at least 30 minutes. After 30 minutes, remove the boots or shoes and apply the waterproofing product to the inside of each boot or shoe. Put the boots or shoes back in the water and soak for an additional 30 minutes. Remove and dry the boots or shoes.

What You Need to Make Your Heels Waterproof
If you’re anything like me, a trip to the beach means spending hours in heels soaking up the sun. But wearing heels all day doesn’t have to be punishment; with a bit of preparation and some easy steps, your heeled beauties can be waterproofed for days on end!
First things first: if you’ve never waterproofed anything before, it’s definitely worth learning how. There are several ways to go about it, but I will outline my preferred method for those of you who want something that isn’t too complicated or time-consuming.
To waterproof your shoes, you’ll need two essentials: silicone adhesive and an available sealant. Silicone adhesive is what we’ll use to bond our shoe material to the sealant – either GEL-LEVEL or PRIMER — so make sure you have both on hand before beginning! All you do is apply the silicone adhesive generously to one side of your heel (where the material meets your skin), then press firmly onto the sealant surface. Be sure not to overapply as this may cause wrinkles or bubbles in your finished product. Allow time for the adhesive to dry fully before attaching your shoe material (about 30 minutes should do it). Once completely dry, peel off any excess silicone adhesive – don’t worry if there are some stubborn spots where glue has pooled; these will be covered when we attach our shoe fabric later on.
I know this sounds a little complicated at first, but once everything is done it’s really simple – much simpler than trying to hide damaged shoes under layers of sand! To finish off our project, we just need a pair of scissors and a straight edge – nothing more complicated than that!
Remember: patience is key here; take your time and try not to rush through any step in order to get things done quickly. And finally: don’t forget about touch ups! Your shoes may look perfect from afar but chances are there will still be some small areas where water has seeped through – especially if you live in an area with heavy rainfall – so give them another quick application of silicone adhesive every few weeks or so just incase!.
Step-by-Step Guide to Making Your Heels Waterproof
To make your heels waterproof, you will need the following:
- Heel Protector
- Waterproofing Tape
- Hairdryer
- Iron
- Apply the Heel Protector to the bottom of your heel. Make sure that the protector is completely covering the heel.
- Cut a piece of waterproofing tape and place it over the top of the Heel Protector. Make sure that the tape is in contact with both the Heel Protector and the heel.
- Heat up your hair dryer on low heat and place it over the top of the taped Heel Protector. Hold the hair dryer for about 10 seconds, or until the tape has melted. Be careful not to burn yourself!
- Remove the Heel Protector and iron it onto your shoe. Be sure to use a low heat setting so that you do not damage your shoe.
- Repeat steps 2-4 for each heel.
How to Test If Your Heels Are Waterproof
There are a few things you need to make sure when waterproofing your heels. Make sure the product you are using is waterproof, and that you are following the instructions correctly. You should also make sure your heels are clean and free of any oils or sweat. If you follow these tips, you will have successful waterproofing your heels!

Common Mistakes to Avoid When Waterproofing Your Heels
If you’re looking to keep your heels dry and free from water damage, you’ll need to waterproof them. There are a few different ways to do this, and each has its own set of pros and cons. Here are five tips to help you waterproof your heels:
- Test your heels before you waterproof them. This will help you determine which method is best for your specific shoes.
- Use a sealant. Sealants are a popular way to waterproof heels, and they come in a variety of forms (from spray to liquid). They’re easy to use, and they work well in most cases.
- Use a water-repelling adhesive. This type of adhesive is designed to bond to the surface of your heel and prevent water from penetrating the shoe.
- Use a shoe bootie. A shoe bootie is a small piece of fabric that goes over the top of your heel. It’s designed to protect the heel from water and debris, and it can also help keep your heel dry.
- Use a raincoat or poncho. If you’re going out in the rain, bring along a raincoat or poncho that will protect your heels from water damage.
Different Types of Products You Can Use to Make Your Heels Waterproof
Different types of products you can use to make your heels waterproof include:
- Rubber cement
- Shoe polish
- Hair spray
- Paint
- Gel
How Long Will My Waterproofed Heels Last?
While there are many ways to waterproof your heels, using a specific product may be the best option depending on the your style and foot type. Make sure to test products before you use them on your shoes to make sure they’re safe for application. Heels that are treated with a water-repelling finish will last longer but can also feel stiffer when first worn. Many people prefer a softer, more flexible waterproofing agent for their heels.
Making your heels waterproof is an important step to ensure that they last longer and look better. With the right products and a few simple steps, you can make sure your heels are ready for any weather. If you want to learn more about caring for your shoes, be sure to check out our other content!
